How to implement login with google feature in Laravel with Socialite package
Unlock Seamless Social Logins: A Step-by-Step Guide to Implementing Login with Google in Laravel 10 using Socialite and Laravel UI


If you come across many websites these days, you will see that most of them have this feature where you can log in into the website with your existing social media accounts.
In this article, we will be going through how to set up a login with Google feature in Laravel with libraries like laravel ui and Socialite.
When you want to build a login with Google feature, you have to have a gmail account, which you will use to access the google api console.
How to implement Login with Google in Laravel 10 with Socialite and Laravel UI
Setting up your project
You have to have PHP and Composer installed on your local machine.
After that, create a project by running the following command on your machine
Composer create-project laravel/laravel login-with-google
It will create a Laravel 10 project on your machine. Set up the Database connection in the .env environment.
DB_CONNECTION=mysql
DB_HOST=127.0.0.1
DB_PORT=3306
DB_DATABASE=login-with-google
DB_USERNAME=root
DB_PASSWORD=
After that, install laravel UI in your Laravel project.
composer require laravel/ui
Then you install the frontend scaffolding for your project
php artisan ui bootstrap –auth
Run npm install to install your frontend dependencies and npm run dev to compile them
npm install
npm run dev
In your user data table, add this code
$table->string('goggleauth_id')->unique()->nullable();
In your app/model/user.php, add this code
protected $fillable = [
        'name',
        'email',
        'password',
        'goggleauth_id', //The new column you added to the users table
    ];
Then run your database migration by running this command
php artisan migrate
Installing the Socialite Package
You have to install the Socialite package by running this command,
composer require larvel/socialite
After that, we set up the Socialite package in the project and include it in the config/app.php file, like this:
'providers' => [
....
....
Laravel\Socialite\SocialiteServiceProvider::class,
],
'aliases' => [
....
....
'Socialite' => Laravel\Socialite\Facades\Socialite::class,
],
It is worth knowing that Laravel comes bundled with TailwindCSS when you install it, but you can decide to forgo it and go with bootstrap instead if that is what you are comfortable with. But if you want to learn or experiment with TailwindCSS, you might decide to go with the TailwindCSS and then just install Laravel Jetstream for the authentication scaffolding.
Setting up a Google Console Account and getting our Client ID and Secret
We need to get our Google Client ID and Secret from Google console, so we can use it in our code. Go to the Google Console and set up an account. It is a very straightforward process.
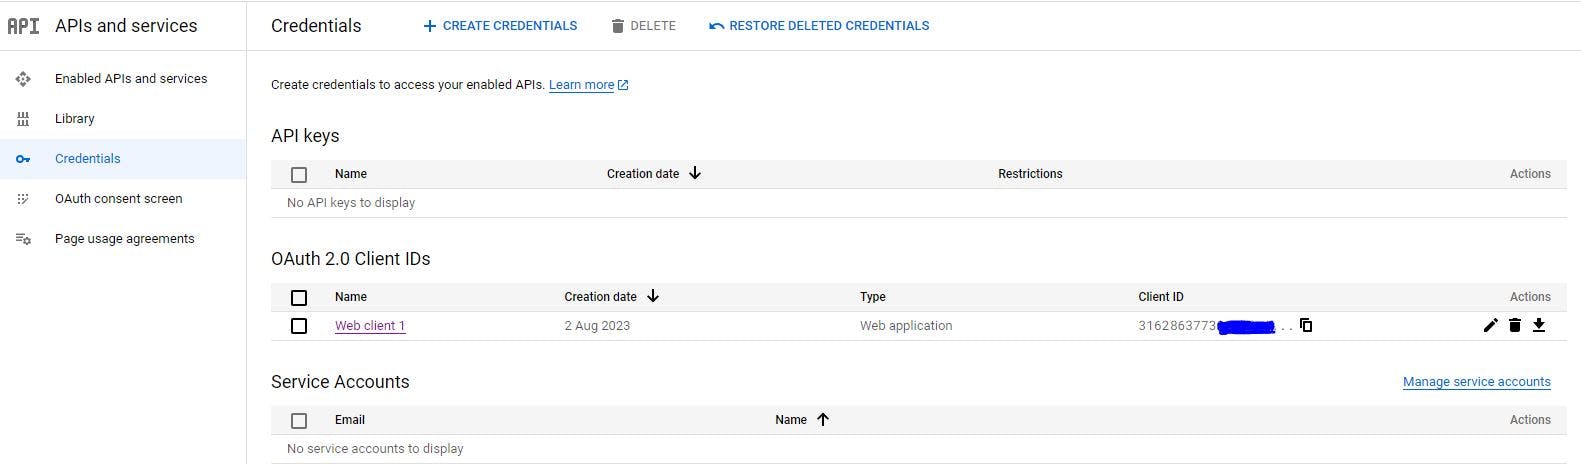
After getting our details from the Google Console, we include in our .env file like this:
GOOGLE_CLIENT_ID="3162863xxxxx-xxxxxxxxxxxxxx.apps.googleusercontent.com"
GOOGLE_CLIENT_SECRET="GOCSxxxx-xxxxxxxxx-rayqMwH-xxxxxx"
Then set them up in the config/services.php file in your Laravel project
'google' => [
        'client_id' => env('GOOGLE_CLIENT_ID'),
        'client_secret' => env('GOOGLE_CLIENT_SECRET'),
        'redirect' => 'http://127.0.0.1:8000/auth/google/callback',
    ],
You can notice the http://127.0.0.1:8000 i.p address,
Create a controller to handle the logic of your Login with Google feature.
Php artisan make:controller GoogleController. Then insert this code in the GoogleController.php file.
<?php

namespace App\Http\Controllers;

use Auth;
use Laravel\Socialite\Facades\Socialite;
use Exception;
use App\Models\User;
use Illuminate\Support\Facades\Hash;
use Illuminate\Http\Request;

class GoogleController extends Controller
{
    public function signInwithGoogle()
    {
        return Socialite::driver('google')->redirect();
    }
    public function callbackToGoogle()
    {
        try {

            $user = Socialite::driver('google')->user();

        } catch (\Exception $e) {
            return redirect ('/login');
        }

            $existingUser = User::where('goggleauth_id', $user->id)->first();

            if($existingUser){

               Auth::login($existingUser, true);

            }else{
                $newUser =  User::create([
                    'name' => $user->getName(),
                    'email' => $user->getEmail(),
                    'goggleauth_id' => $user->getId(),
                    'password' => Hash::make($user->getName().'@'.$user->getId()),
                ]);
                Auth::login($newUser, true);
            }

            return redirect('/dashboard');
    }
}
Create Route in your web.php
In Laravel, routes are created in the routes folder. They help create a request URL for your application.
For our project, you will open your web.php file and paste this code:
Route::get('auth/google', [GoogleController::class, 'signInwithGoogle'])->name('googlesignin');
Route::any('auth/google/callback', [GoogleController::class, 'callbackToGoogle'])->name('callback');
Modify your Login.blade.php in your Views folder
Go to your login.blade.php file in your views/auth folder and paste this code:
@extends('layouts.app')

@section('content')
<div class="container-fluid pt-7 vh-100 custom-section">
    <div class="row justify-content-center">
        <div class="col-md-4">
            <div class="card bg-white shadow-sm">
                <div class="card-body">
                    <form method="POST" action="{{ route('login') }}">
                        @csrf
                        <div class="text-center mb-5">
                            <i class="fas fa-cubes fa-2x" style="color: #ff6219;"></i>
                            <h1 class="fw-bold mb-3 mt-3 gradient-text">LoginWithGoogle</h1>
                            <h5 class="fw-bold fs-2 my-3" style="letter-spacing: 1px;">Welcome Back!</h5>
                        </div>
                        <div class="mb-3">
                            <label for="email" class="form-label">{{ __('Email Address') }}</label>
                            <input id="email" type="email" class="form-control @error('email') is-invalid @enderror" name="email" value="{{ old('email') }}" required autocomplete="email" autofocus>
                            @error('email')
                                <span class="invalid-feedback" role="alert">
                                    <strong>{{ $message }}</strong>
                                </span>
                            @enderror
                        </div>

                        <div class="mb-3">
                            <label for="password" class="form-label d-flex justify-content-between align-items-center">
                                <span>{{ __('Password') }}</span>
                                @if (Route::has('password.request'))
                                <a class="border-link small-xl" href="{{ route('password.request') }}">{{ __('Forgot Password?') }}</a>
                                @endif
                            </label>
                            <input id="password" type="password" class="form-control @error('password') is-invalid @enderror" name="password" required autocomplete="current-password">
                            @error('password')
                                <span class="invalid-feedback" role="alert">
                                    <strong>{{ $message }}</strong>
                                </span>
                            @enderror
                        </div>

                        <div class="mb-3">
                            <div class="form-check">
                                <input class="form-check-input" type="checkbox" name="remember" id="remember" {{ old('remember') ? 'checked' : '' }}>
                                <label class="form-check-label" for="remember">
                                    {{ __('Remember this device') }}
                                </label>
                            </div>
                        </div>

                        <div class="mb-3">
                            <button type="submit" class="btn btn-primary btn-block" style="width: 100%;background-color: #0000AC;">
                                {{ __('Sign in') }}
                            </button>
                        </div>
                            <hr class="my-4">

                            <div class="text-center"><p>or</p></div>
                        <div class="signin-with-google-div">
                        <a href="{{ route('googlesignin') }}" class="login-with-google-btn" >
                        Sign in with Google
                        </a>
                        </div>
                        </div>

                        <div class="mb-3 mt-3" style="text-align: center;">
                            <p>Have no Account? <a href="{{ route('register') }}" style="color: #0000AC;"> Create an Account </a> </p>
                        </div>
                    </form>
                </div>
            </div>
        </div>
    </div>
</div>
@endsection
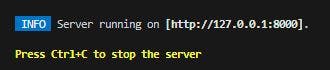
The final step is to run your laravel server
php artisan serve
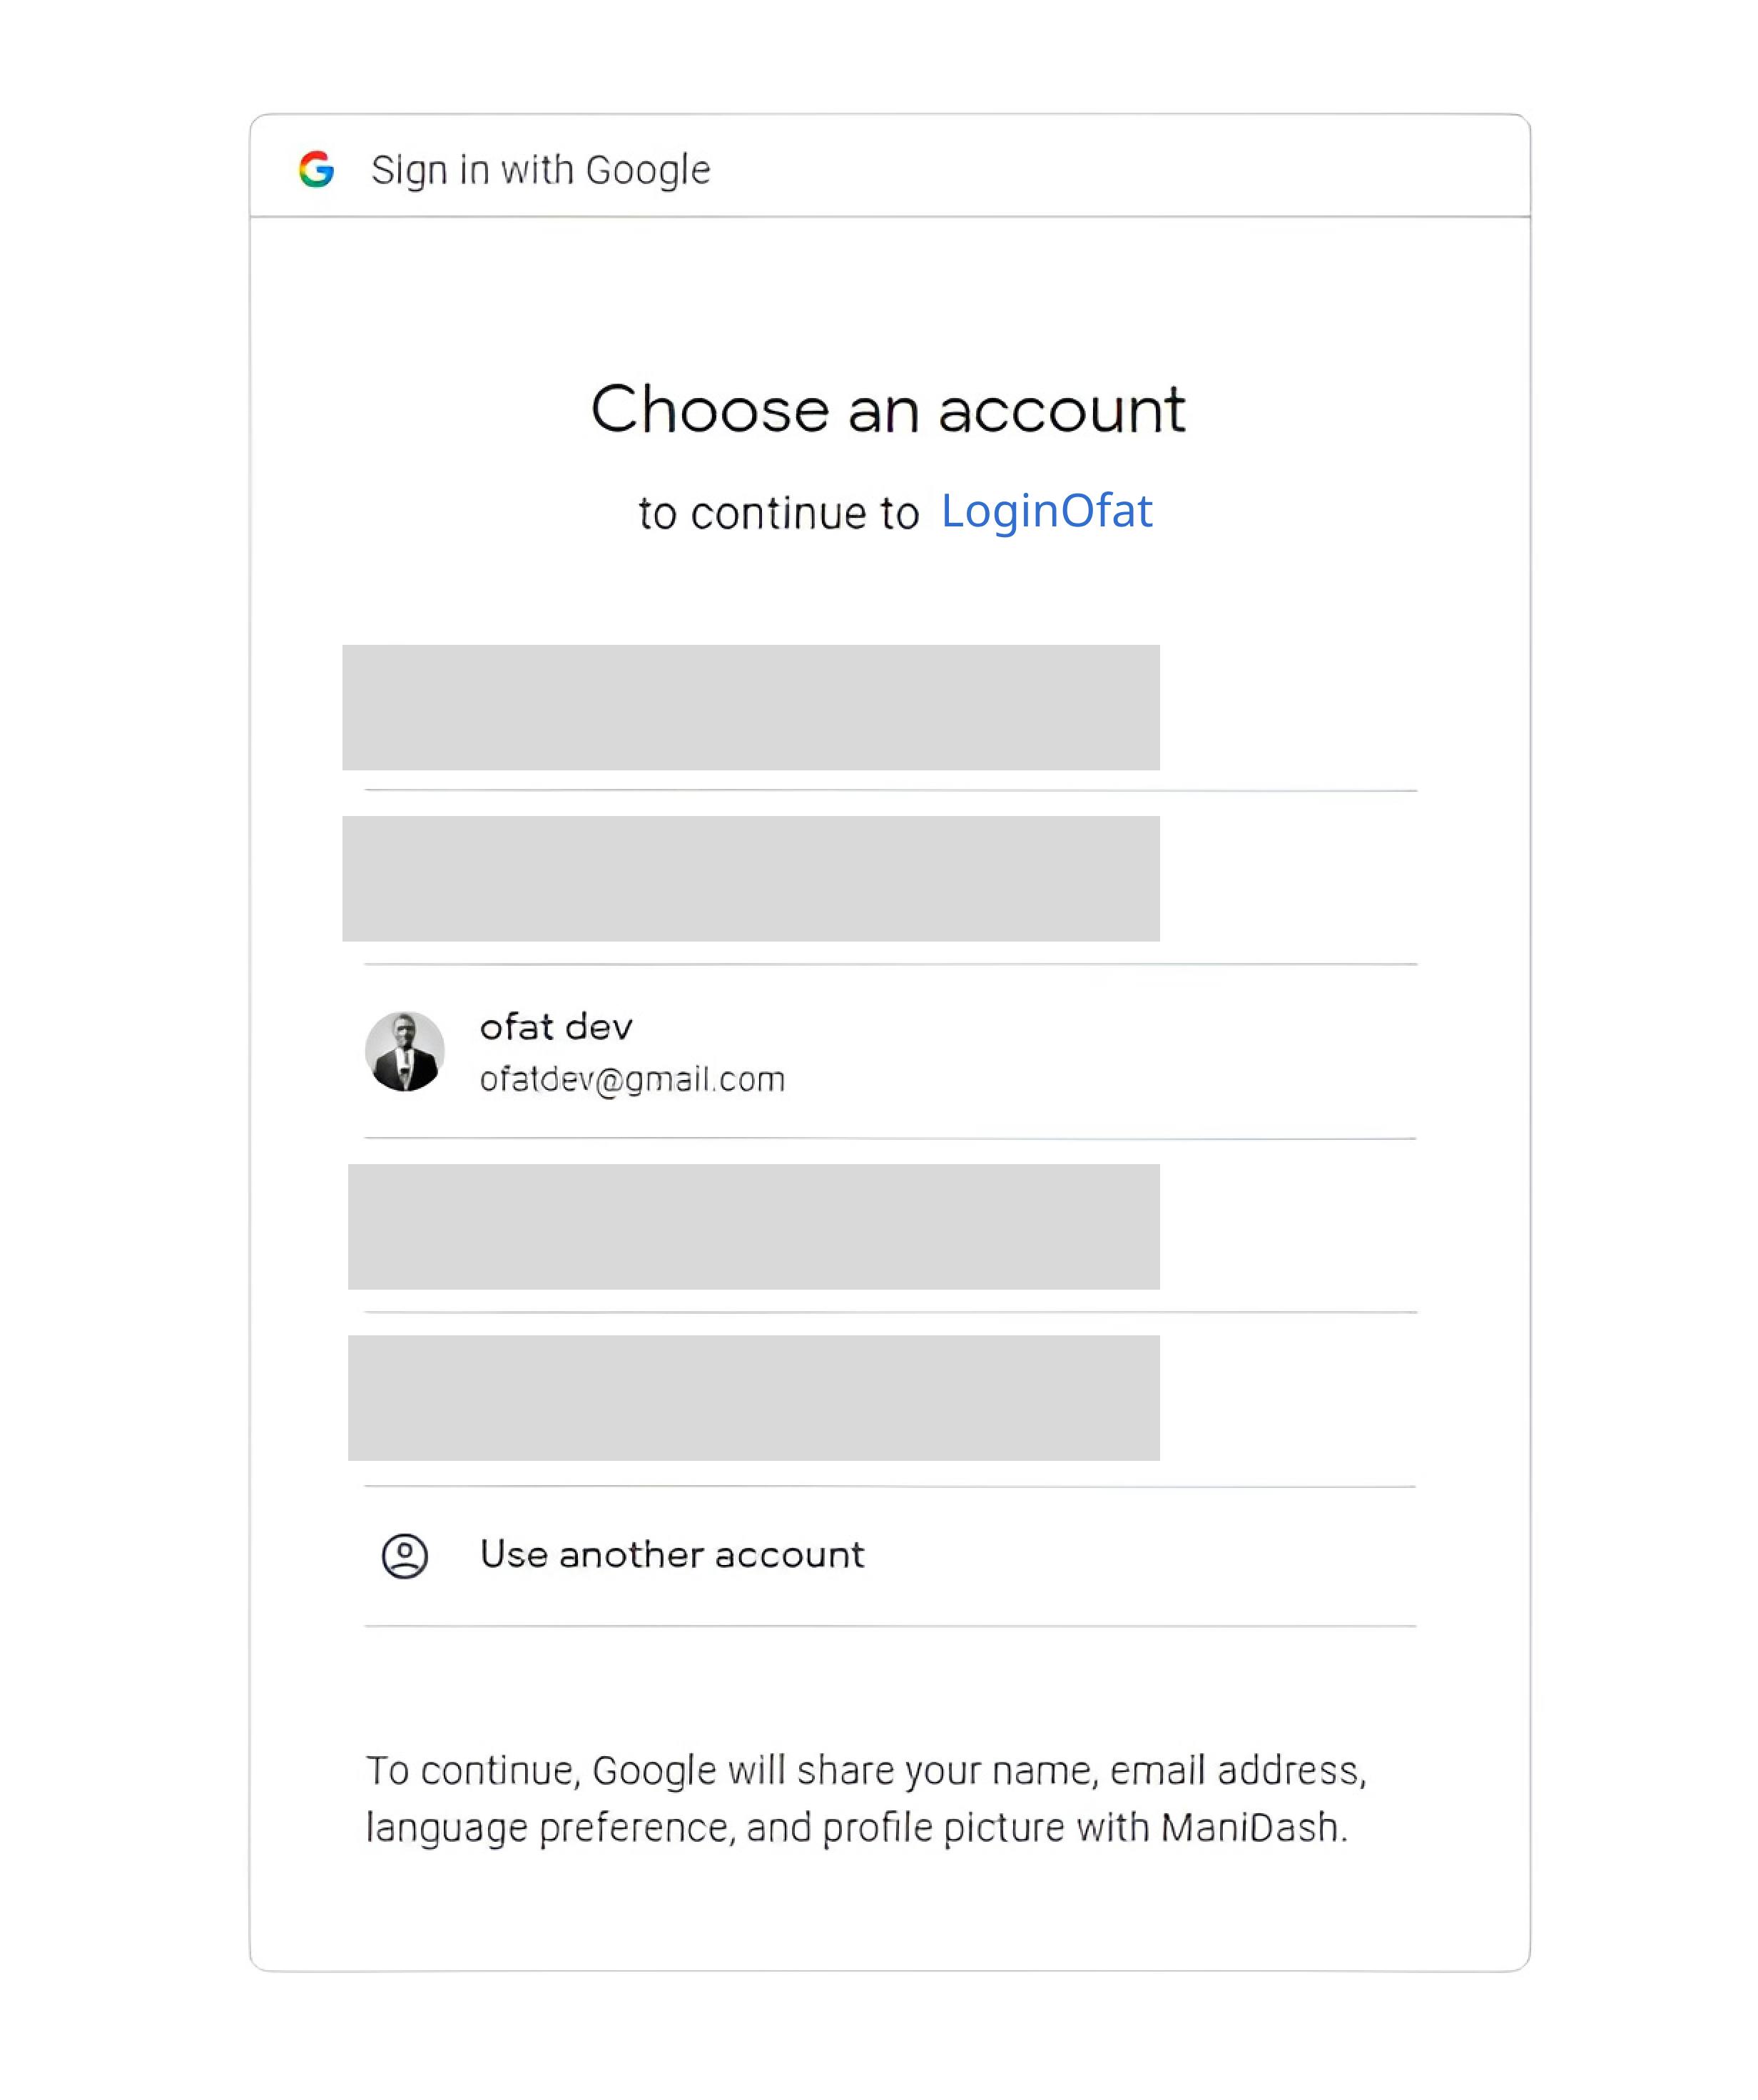
Then open the test url in your browser and append the login at the end to test your Login with Google feature
http://127.0.0.1:8000/login
If you followed all of the steps correctly, your test app should be up and running.
And that is it, your feature is up and running. If you face any issues or have any questions whatsoever do let me know. Happy coding.